
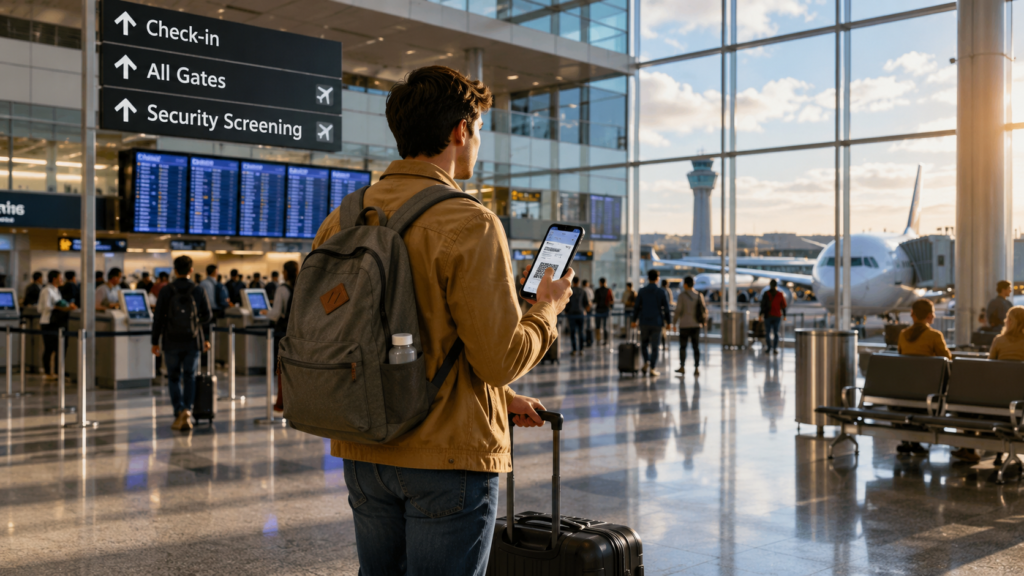
Flying for the first time can feel confusing, especially when you are unsure what happens after booking your ticket. If you are a first time flying in USA traveler, the airport process is much easier when you know what to expect. From booking and packing to check-in, security, boarding, baggage claim, and your return journey, this complete guide explains each step in simple language.
What to Expect When Flying for the First Time
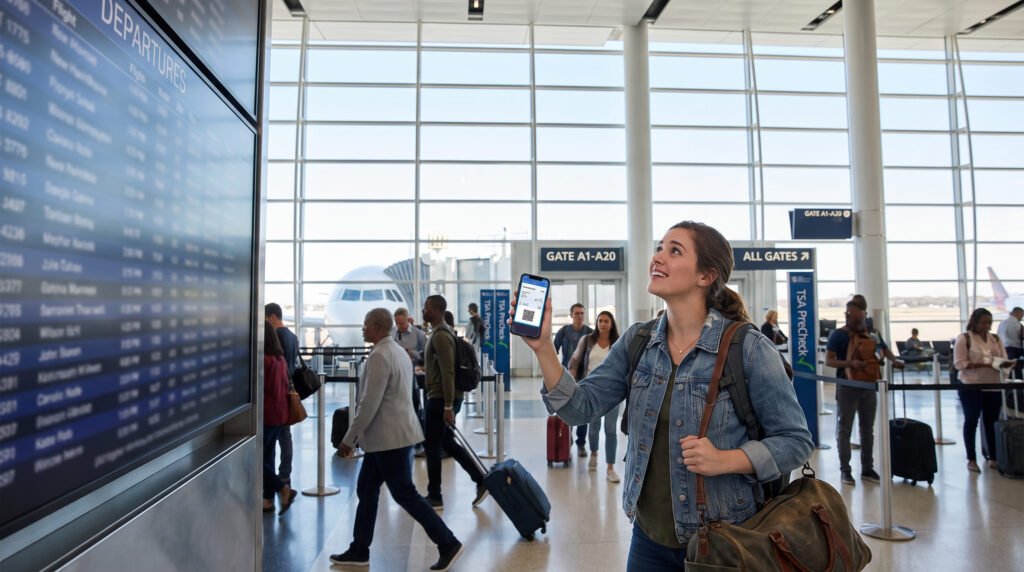
Your first flight follows a fairly predictable sequence: book your ticket, prepare your documents, pack your bags, check in, reach the airport, complete security, find your gate, board the aircraft, and collect your baggage after landing. Knowing this sequence beforehand can remove much of the uncertainty that first-time flyers experience.
For domestic travel in India, you generally need your ticket or boarding pass and an accepted photo ID. For international travel, passport, visa or entry documents, and any destination-specific requirements may also apply. Always check your airline’s current requirements before leaving home.
Step 1: Book Your Flight Carefully
Before paying for a flight, check the passenger name, departure airport, destination, date, time, baggage allowance, fare conditions, and connection details. Your name should match your identification document; airlines can require the booking name to correspond with the ID used for airport entry and boarding.
Don’t choose a flight based only on the lowest advertised fare. Compare the final price, baggage allowance, seat charges, cancellation rules, and departure time. A slightly more expensive ticket may provide much better value and convenience.
Step 2: Understand Your Ticket, PNR, and Flight Number
After booking, save your confirmation email or e-ticket. Look for your PNR or booking reference, flight number, departure date, airport, terminal information if provided, and passenger name.
The PNR is particularly useful when checking in online, managing your reservation, or asking the airline for assistance. Your flight number identifies the specific service you need to follow on airport departure screens.
Step 3: Check Your Travel Documents
For domestic flights in India, carry your ticket or boarding pass and a valid photo ID accepted by the airline or airport. Commonly accepted documents include a passport, Aadhaar, PAN card, driving licence, voter ID, and certain government or institutional photo IDs. DigiLocker documents may also be accepted in applicable circumstances.
For international flights, check your passport validity, visa or entry permit, and any additional destination requirements well before departure. Never assume that the documents required for one country will automatically work for another.
Step 4: Make Sure Your Name Is Correct
One of the easiest mistakes to avoid is entering your name incorrectly during booking. Compare your e-ticket with the identification document you plan to use at the airport.
For international travel, use the name format shown on your passport. For domestic travel, follow your airline’s current name-format requirements. If you discover an error, contact the airline or booking provider as soon as possible rather than waiting until airport day.
Step 5: Learn the Difference Between Cabin and Checked Baggage
Cabin baggage stays with you inside the aircraft, while checked baggage is handed to the airline before security and collected at baggage claim after landing. Weight, dimensions, and number of bags vary according to the airline, route, and fare.
For example, IndiGo currently lists one hand bag up to 7 kg and a standard 15 kg check-in baggage allowance for its applicable domestic passengers, but travelers should always verify the allowance shown on their own booking.
Step 6: Pack Your Cabin Bag Smartly
Keep important and valuable items in your cabin bag rather than checked luggage. Carry your phone, wallet, identification, travel documents, medication, chargers, headphones, and other essentials where they are easy to access.
Avoid packing prohibited or restricted articles in your cabin baggage. If you are uncertain about an item, check the airline and airport’s current restricted-items guidance before traveling instead of assuming it is allowed.
Step 7: Check Liquid and Restricted-Item Rules
Airport security rules can be strict, and the rules may vary depending on the airport, airline, destination, and type of item. Common liquids, gels, aerosols, and other restricted articles should be checked against the latest airport or airline guidance before you pack.
Do not wait until security screening to discover that an item cannot pass through. Preparing your cabin bag at home can save time and prevent unnecessary stress.
Step 8: Complete Online Check-In
Online check-in can make your airport experience much easier. Depending on the airline and itinerary, you may be able to check in through the airline website or mobile app, confirm passenger details, select a seat, and receive a digital boarding pass.
For example, Air India currently allows eligible passengers to check in online, with its stated window beginning 48 hours before departure; its domestic web check-in closes one hour before departure. IndiGo currently lists a 48-hour-to-60-minute window for domestic web check-in. Airline rules can change, so check your carrier’s current instructions.
Step 9: What If You Have Already Checked In Online?
Online check-in does not always mean you can immediately walk through the airport. If you have checked baggage, you still need to use the airline’s baggage-drop or check-in facility.
If you are traveling domestically with only cabin baggage and have a valid boarding pass, some airlines allow eligible passengers to proceed directly to security. Procedures vary by airline and airport, so follow the instructions on your booking.
Step 10: Reach the Airport Early
For a first-time flyer, arriving early is one of the easiest ways to reduce stress. You need enough time for airport entry, check-in or baggage drop, security screening, walking to the gate, and unexpected queues.
Don’t treat a recommended arrival time as a guarantee. Busy periods, large airports, parking or transport delays, and checked baggage can all require additional time. Always check your airline’s current reporting and check-in deadlines.
Step 11: Find the Correct Terminal
Before leaving for the airport, check the terminal listed on your booking or the airport and airline’s current information. Some large airports have multiple terminals, and reaching the wrong one can create unnecessary delays.
Once inside, follow signs for Departures, then locate your airline’s check-in area. If you are unsure, airport staff or information desks can help you find the correct counter.
Step 12: Check In and Drop Your Checked Baggage
If you have not checked in online, go to your airline’s check-in counter or an available self-service kiosk. Provide your booking details and identification when requested.
If you have checked baggage, the airline will weigh and tag your bag before sending it into the baggage system. Keep your baggage receipt or tag information until you have collected your bag at the destination. Airlines may also offer self-service baggage-drop facilities at some airports.
Step 13: Understand Your Boarding Pass
Your boarding pass normally contains important information such as your name, flight number, date, departure time, boarding gate when available, and seat number.
Don’t confuse the departure time with the boarding time. Boarding can begin before departure and the gate can close before the aircraft’s scheduled departure time. For example, Air India currently states that its domestic boarding gates close 20 minutes before scheduled departure. Exact deadlines vary by airline and airport.
Step 14: Go Through Airport Security
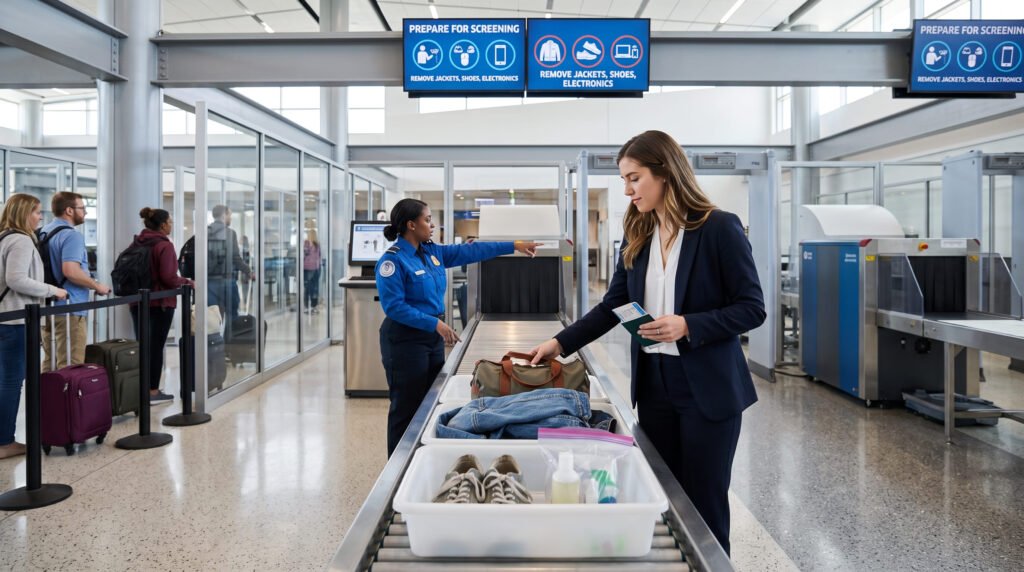
After check-in and baggage drop, follow the signs toward security. Keep your boarding pass and required identification accessible and follow the instructions from security personnel.
You may be asked to place your cabin baggage and certain belongings into screening trays or otherwise prepare them for inspection. Don’t rush; simply follow the instructions and ask staff if you are unsure what to do.
Step 15: Find Your Boarding Gate
After security, check the airport’s departure screens for your flight number and gate. Gates can change, so don’t assume the gate printed or initially displayed will remain the same.
Once you find the gate, check the screen again and listen for announcements. If the gate changes, follow the updated information rather than staying at your original location.
Step 16: Understand Your Seat Number
Your boarding pass will show your seat, such as 14A. The number normally identifies the row, while the letter identifies the seat position.
Aircraft layouts vary, but A and F are often window positions while C and D are commonly aisle positions on many aircraft. Always use the actual seat map or ask the cabin crew if you are unsure.
Step 17: Board the Aircraft
When boarding begins, passengers are usually called according to the airline’s boarding procedure. Have your boarding pass ready for scanning and follow the instructions from the gate staff.
Once inside the aircraft, locate your row and seat, place your permitted cabin baggage securely, and sit down. If you cannot find your seat or your bag does not fit where expected, ask a cabin crew member rather than blocking the aisle.
Step 18: What Happens During Takeoff?
After boarding is complete, the aircraft doors close and the crew prepares everyone for departure. You will receive or watch a safety demonstration covering seat belts, emergency exits, oxygen equipment, and other safety procedures.
During takeoff, you may feel acceleration, vibration, or pressure in your ears. Swallowing, yawning, or gently chewing can help with normal ear-pressure changes. Keep your seat belt fastened according to the crew’s instructions and pay attention to the seat-belt sign.
Step 19: Don’t Panic About Normal Turbulence
Turbulence can feel frightening when you have never flown before, but bumps and changes in aircraft movement are a normal part of air travel. Follow the crew’s instructions and keep your seat belt fastened whenever required.
If you are nervous, tell a cabin crew member when appropriate. They are trained to assist passengers and can help make your first flight more comfortable.
Step 20: Know What You Can Do During the Flight
You can normally read, listen to approved entertainment, use permitted electronic devices according to crew instructions, and request assistance when needed. Follow the airline’s instructions regarding electronic-device settings, seat belts, tray tables, and cabin safety.
If you need the restroom, it is generally better to use it when the seat-belt sign is off and the crew permits movement. Keep your essential belongings secure throughout the journey.
Step 21: Prepare for Landing
As the aircraft begins its descent, the cabin crew will prepare passengers for landing. Your seat should be upright, your tray table stowed, and your seat belt fastened according to crew instructions.
You may again notice pressure in your ears. Swallowing or yawning can help. After landing, remain seated until the aircraft reaches its parking position and the seat-belt sign is switched off.
Step 22: Follow the Signs After Landing
Once you leave the aircraft, follow signs for Arrivals, Baggage Claim, or Exit. If you have a connecting flight, follow the signs for Transfer or Connections instead of automatically leaving the terminal.
Large airports can be confusing, so use the departure or arrival screens and ask airport staff whenever you are unsure where to go.
Step 23: Collect Your Checked Baggage
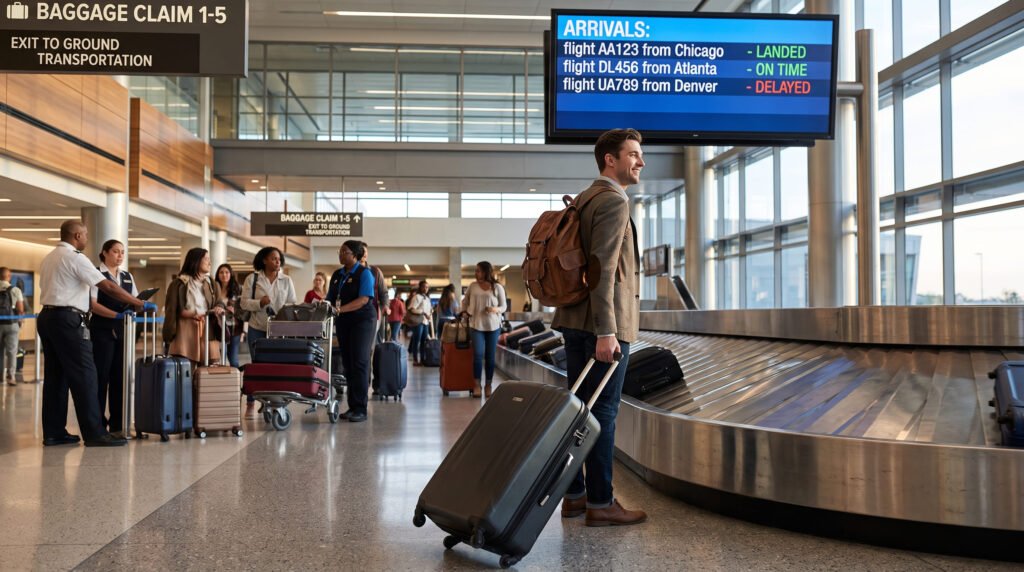
If you checked a bag, go to the baggage-claim area and look at the screens for your flight number and assigned carousel. Wait for your luggage to appear and compare the baggage tag with your own information before leaving.
Keep your baggage tag until you are sure you have collected the correct bag. If your luggage is delayed, missing, or damaged, report it to the airline’s baggage service desk before leaving the airport.
Step 24: What If Your Baggage Is Missing?
Don’t simply go home and hope the bag appears later. Contact the airline’s baggage service team at the airport and provide your baggage tag, flight details, and contact information.
The airline may create a baggage report and provide instructions for tracking or delivery. Keep the report/reference number and any related documents until the issue is resolved.
Step 25: What If Your Flight Is Delayed or Cancelled?
If your flight is delayed, first check the airline’s app, website, airport departure screen, and announcements. If the disruption is significant, speak with the airline about your available options.
For cancellations or major schedule changes, rebooking, refund, or other assistance may depend on the airline’s policy, ticket conditions, reason for disruption, and applicable passenger-rights rules. Don’t assume every disrupted flight automatically qualifies for the same remedy.
Step 26: Domestic vs International Flights in USA
Domestic flights with in USA generally involve airport entry, check-in or baggage drop, security screening, boarding, and baggage claim. International travel adds additional requirements such as passport and visa checks, immigration, and potentially customs procedures.
If you have an international connection, the process can become more complicated because immigration and baggage procedures depend on your itinerary, airport, airline, and whether the journey is on one ticket. Always follow the instructions provided for your specific itinerary.
Step 27: What Happens on a Connecting Flight?
A connection means you leave one flight and continue your journey on another. Before booking, check the connection time, airport, terminal, and whether you need to collect and re-check baggage.
A single-ticket itinerary may provide a more coordinated connection, but the exact baggage and transfer process still depends on the airline and route. International-to-domestic connections can involve immigration and baggage collection at the first point of entry into India.
Step 28: Should You Use DigiYatra?
DigiYatra can provide eligible travelers with a digital airport journey at participating airports, but it should be treated as an optional convenience rather than something every first-time flyer must use.
If you choose to use it, complete the required setup before traveling and keep your normal travel documents available. Airport and airline procedures can vary, so follow the current instructions for your journey.
Step 29: 15 Common First-Time Flyer Mistakes
1. Arriving too late: Give yourself enough airport time.
2. Using the wrong terminal: Confirm your terminal before leaving home.
3. Misspelling your name: Check your ticket against your ID.
4. Ignoring baggage limits: Weigh your bags before departure.
5. Packing restricted items: Check current airline and airport rules.
6. Forgetting your ID: Keep acceptable identification accessible.
7. Losing your boarding pass: Save a digital copy and follow airline instructions.
8. Ignoring gate changes: Keep checking departure screens.
9. Confusing boarding with departure time: Be at the gate before the boarding deadline.
10. Packing essentials in checked luggage: Keep valuables and important items with you.
11. Choosing a tight connection: Allow enough time for transfers.
12. Leaving without your baggage tag: Keep it until baggage collection is complete.
13. Ignoring airline notifications: Monitor your phone and email.
14. Assuming every airport works identically: Check airport-specific instructions.
15. Being afraid to ask for help: Airport and airline staff are there to assist passengers.
First-Time Flying in USA: Complete Checklist
Before Leaving Home
- Check your flight date, time, and airport.
- Confirm your passenger name.
- Keep your ID and travel documents ready.
- Complete online check-in if available.
- Download or save your boarding pass.
- Check your baggage allowance.
- Weigh your luggage.
- Remove restricted items.
- Charge your phone.
- Save your airline’s app or contact information.
At the Airport
- Enter through the correct terminal.
- Find your airline’s check-in area.
- Drop checked baggage if necessary.
- Keep your baggage receipt/tag.
- Pass through security.
- Check the departure screen.
- Find your gate.
- Stay near the gate and monitor announcements.
Before Boarding
- Keep your boarding pass ready.
- Check your seat number.
- Listen for boarding announcements.
- Board when your group or zone is called.
- Store your cabin baggage safely.
- Follow cabin crew instructions.
After Landing
- Wait until the seat-belt sign is off.
- Follow Arrivals or Baggage Claim signs.
- Check the baggage carousel for your flight.
- Collect and verify your luggage.
- Report missing or damaged baggage before leaving.
- Follow Exit or Transfer signs according to your journey.
Final Tips for a Stress-Free First Flight
The best way to make your first flight easy is to prepare before you reach the airport. Save your booking information, check your documents, understand your baggage allowance, arrive with enough time, and keep checking the airport screens after security.
Most importantly, don’t be embarrassed to ask for help. Airport staff, airline employees, security personnel, and cabin crew deal with first-time passengers every day. You don’t need to know everything before your first flight—you only need to know what the next step is.
FAQs
1. What should I do first when flying for the first time in USA?
Confirm your ticket and documents, complete online check-in if available, prepare your baggage, and arrive at the correct airport terminal with enough time.
2. What documents are required for a domestic flight inUSA?
You generally need your ticket or boarding pass and an accepted photo ID; exact requirements should be confirmed with your airline and airport.
3. Do I need to check in at the airport if I checked in online?
Not necessarily; domestic passengers with only cabin baggage may be able to proceed to security, while passengers with checked baggage still need to use baggage drop or the airline’s designated facility.
4. How early should a first-time flyer reach the airport?
Arrive early enough to complete airport entry, check-in, baggage drop, security, and reach your gate before the airline’s deadlines; first-time flyers should allow extra time for unfamiliar procedures.
5. What should I do if I miss my flight?
Contact the airline immediately at the airport or through its official support channels; rebooking, fees, refunds, or other options depend on your fare and the circumstances.
Conclusion
Your first time flying in USA does not have to be stressful or confusing. Once you understand the journey—from booking your ticket and preparing documents to checking baggage, passing security, finding your gate, boarding, and collecting your luggage—the airport process becomes much easier.
Prepare your documents, check your airline’s latest rules, arrive early, keep your boarding pass accessible, monitor gate announcements, and ask for help whenever you need it. Your first flight may feel unfamiliar, but after you understand each step, flying becomes a simple and manageable travel experience.